
The complete guide
How to Choose and Fit a Bike Kickstand
The small annoyance that never goes away
A bike with no kickstand is a bike you are constantly managing. You lean it on a wall and the bars swing. You prop it on a fence and the pedal catches. You lay it on the grass and the chain picks up dirt. At the shops you end up holding the bars with one hand while you dig for keys with the other. None of this is dramatic, but it happens every single ride, and after a while it wears thin.
A kickstand fixes it in the most direct way possible. You push the leg down with your heel, the bike stands on its own, and you get both hands back. That is the whole pitch. It sounds minor until you have one, and then you wonder why you waited.
What this stand actually is
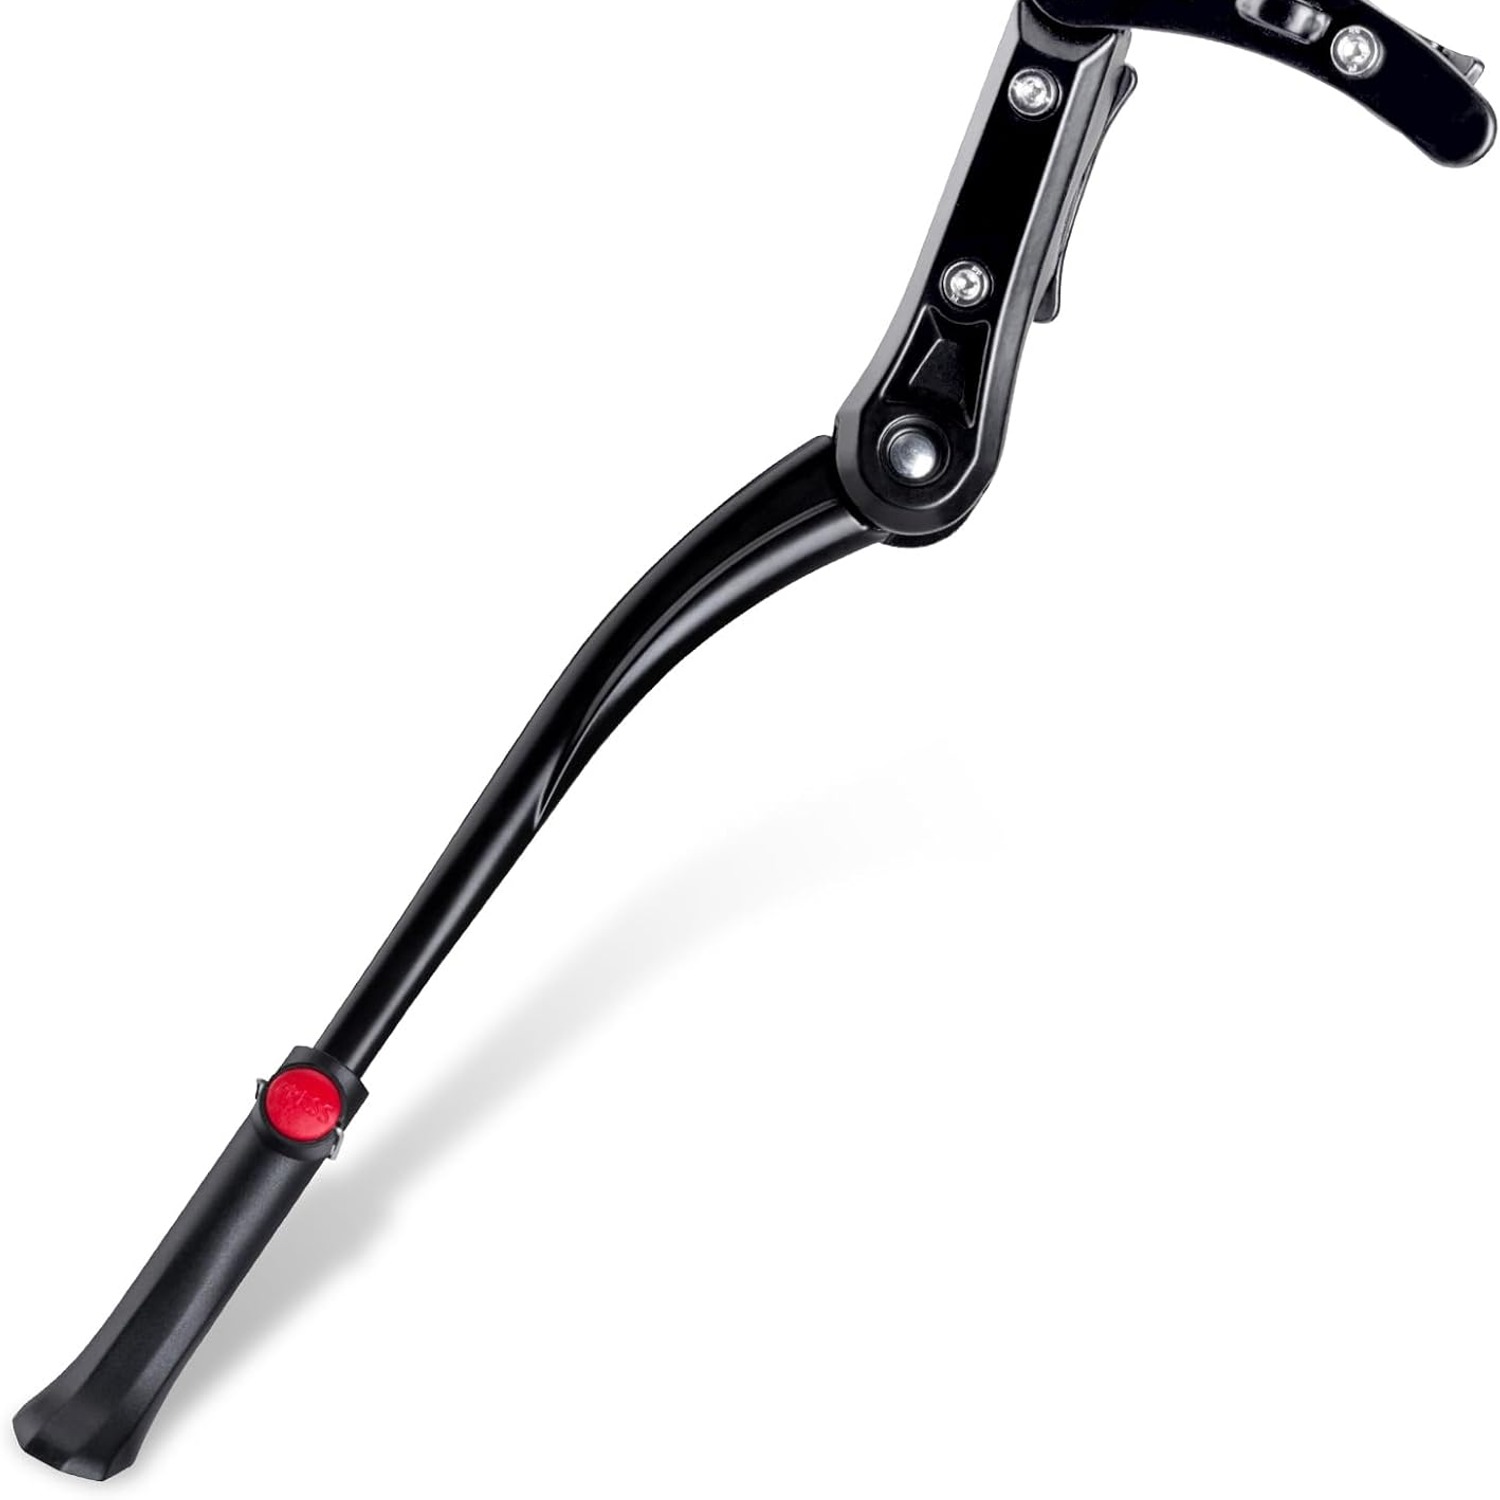
The body is aluminium, finished in black, and the whole thing weighs 351 g. It is rated to hold 25 kg, which covers a typical adult bike plus a rack and some gear. Supplied size is 40.4 x 10.4 x 1.8 cm.
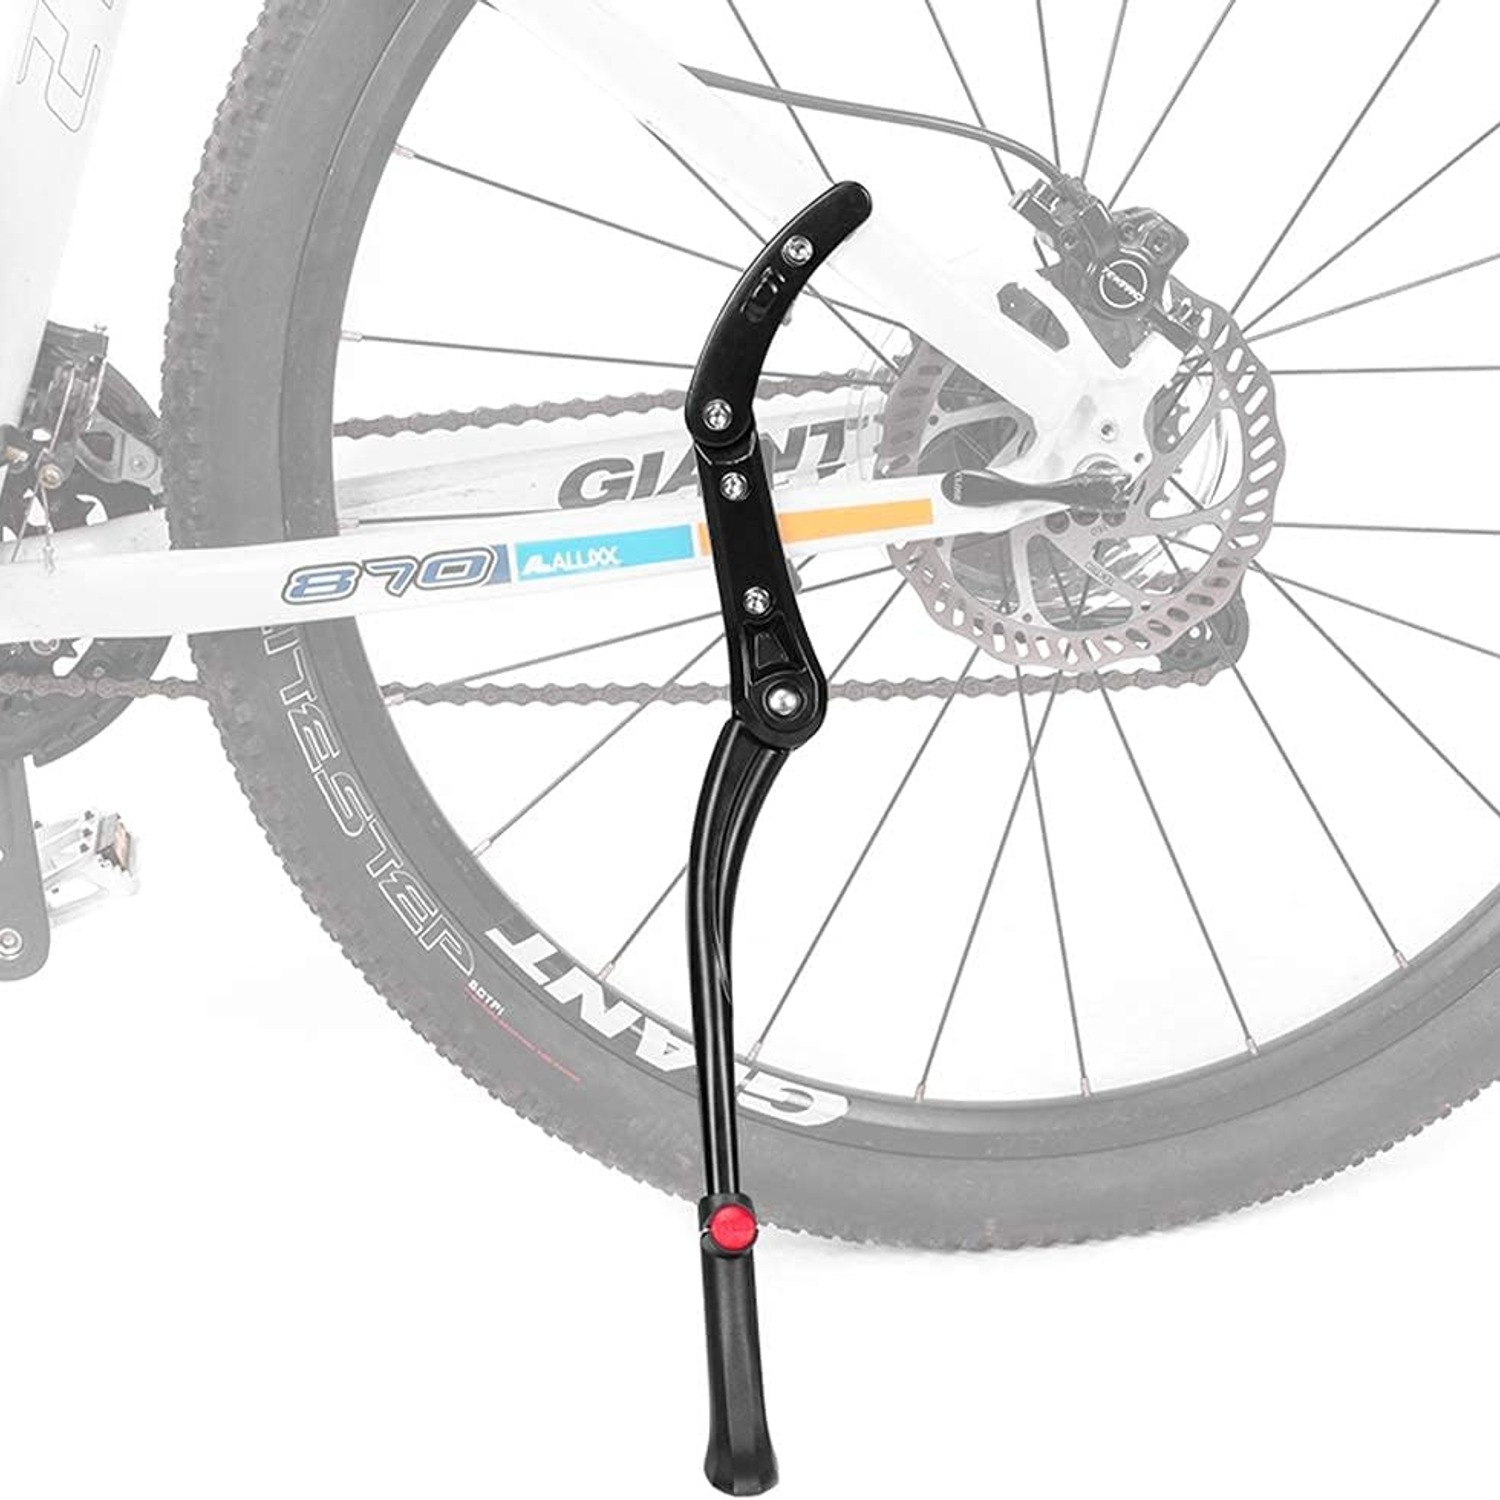
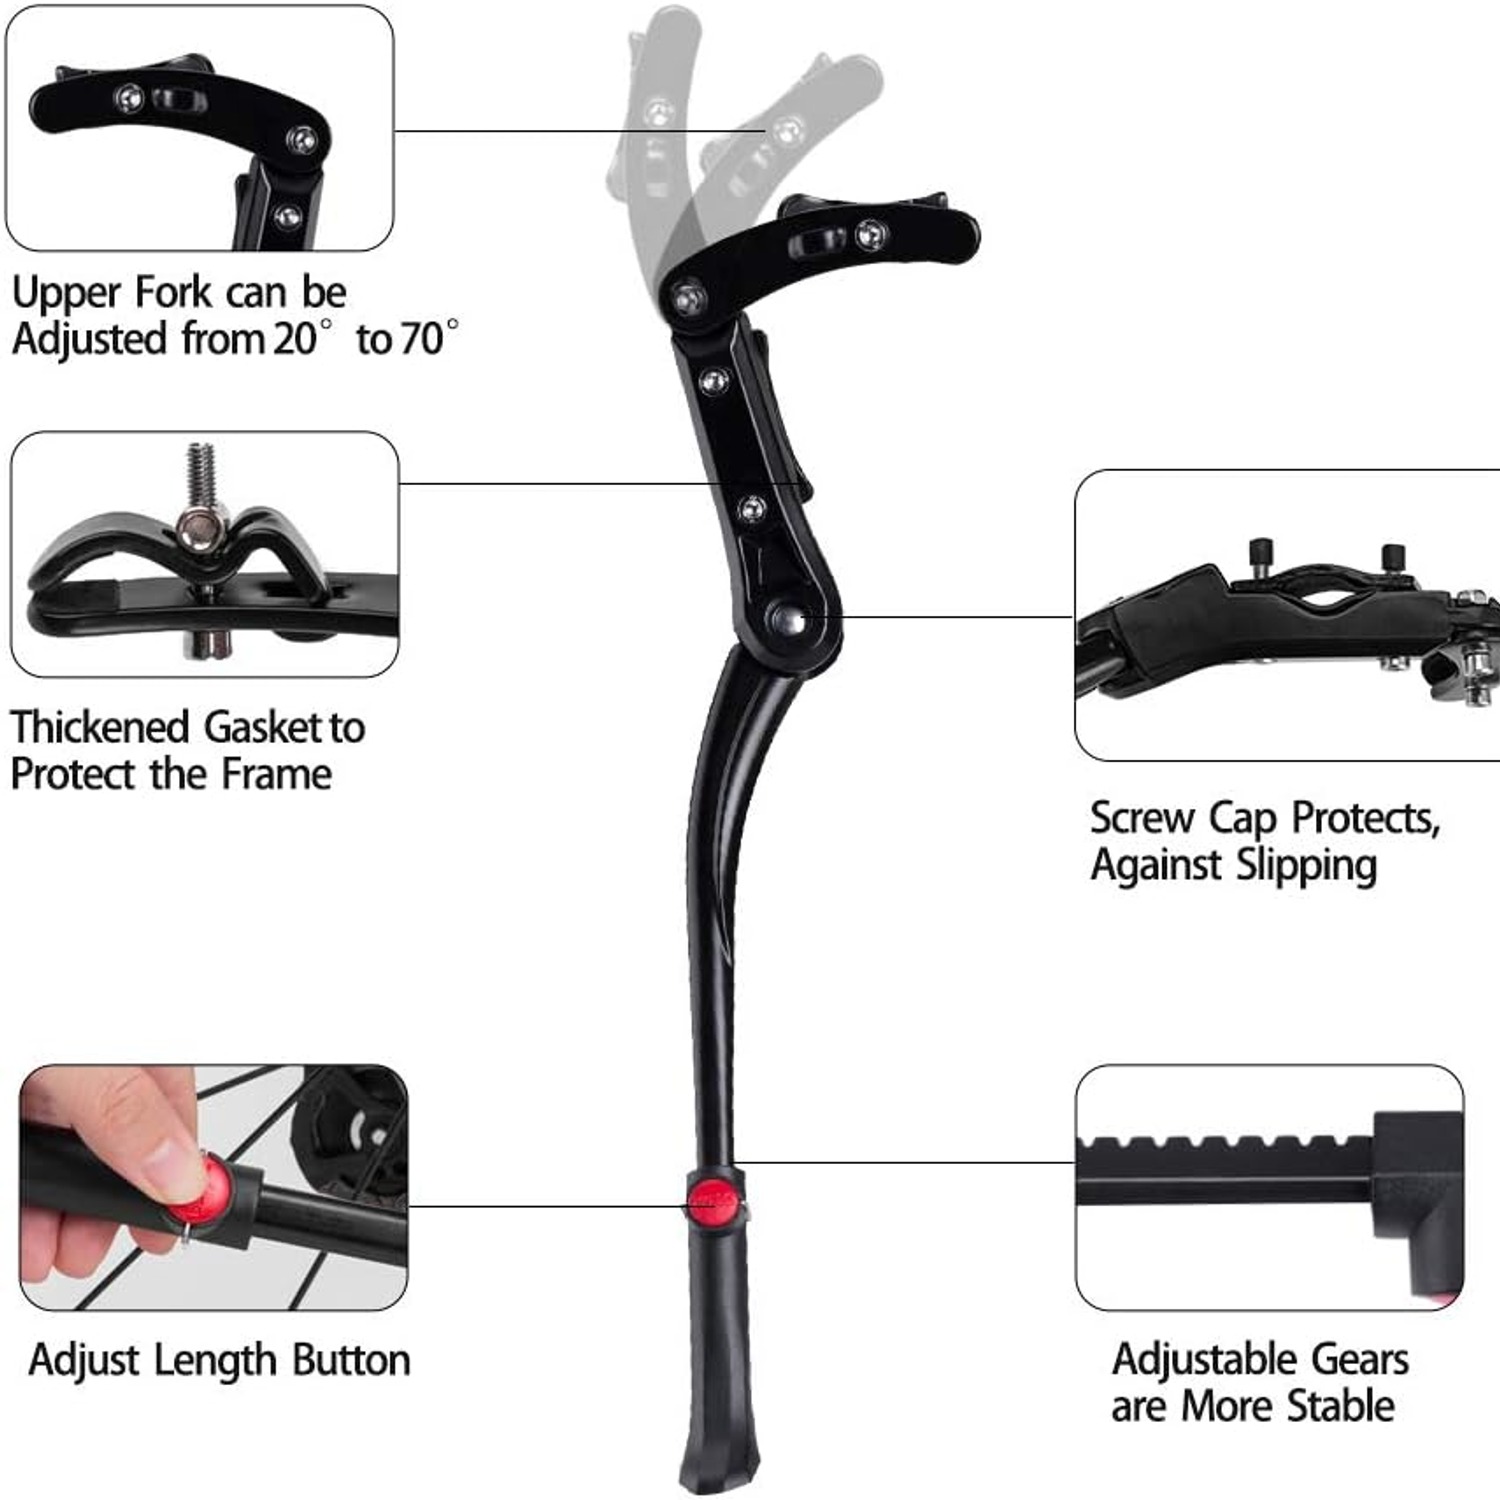
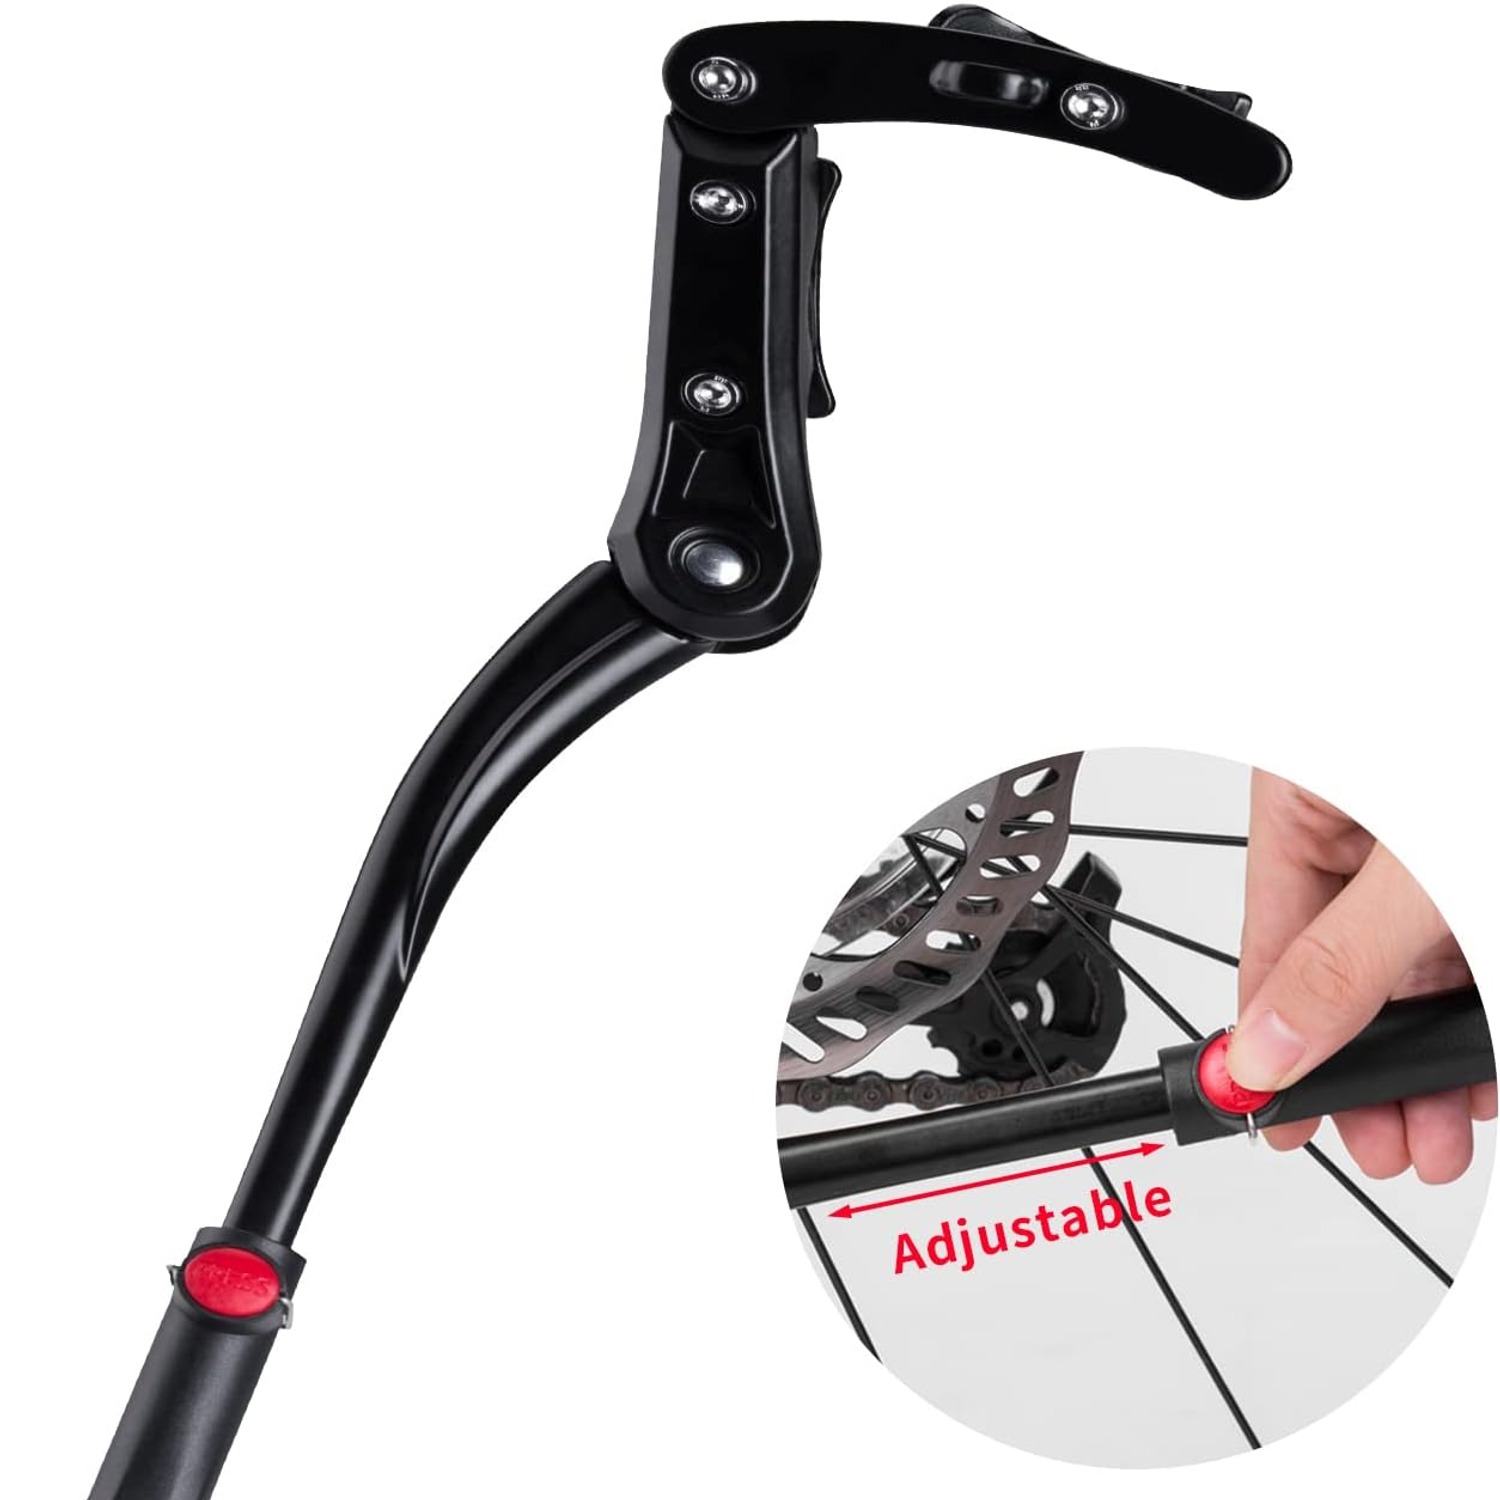
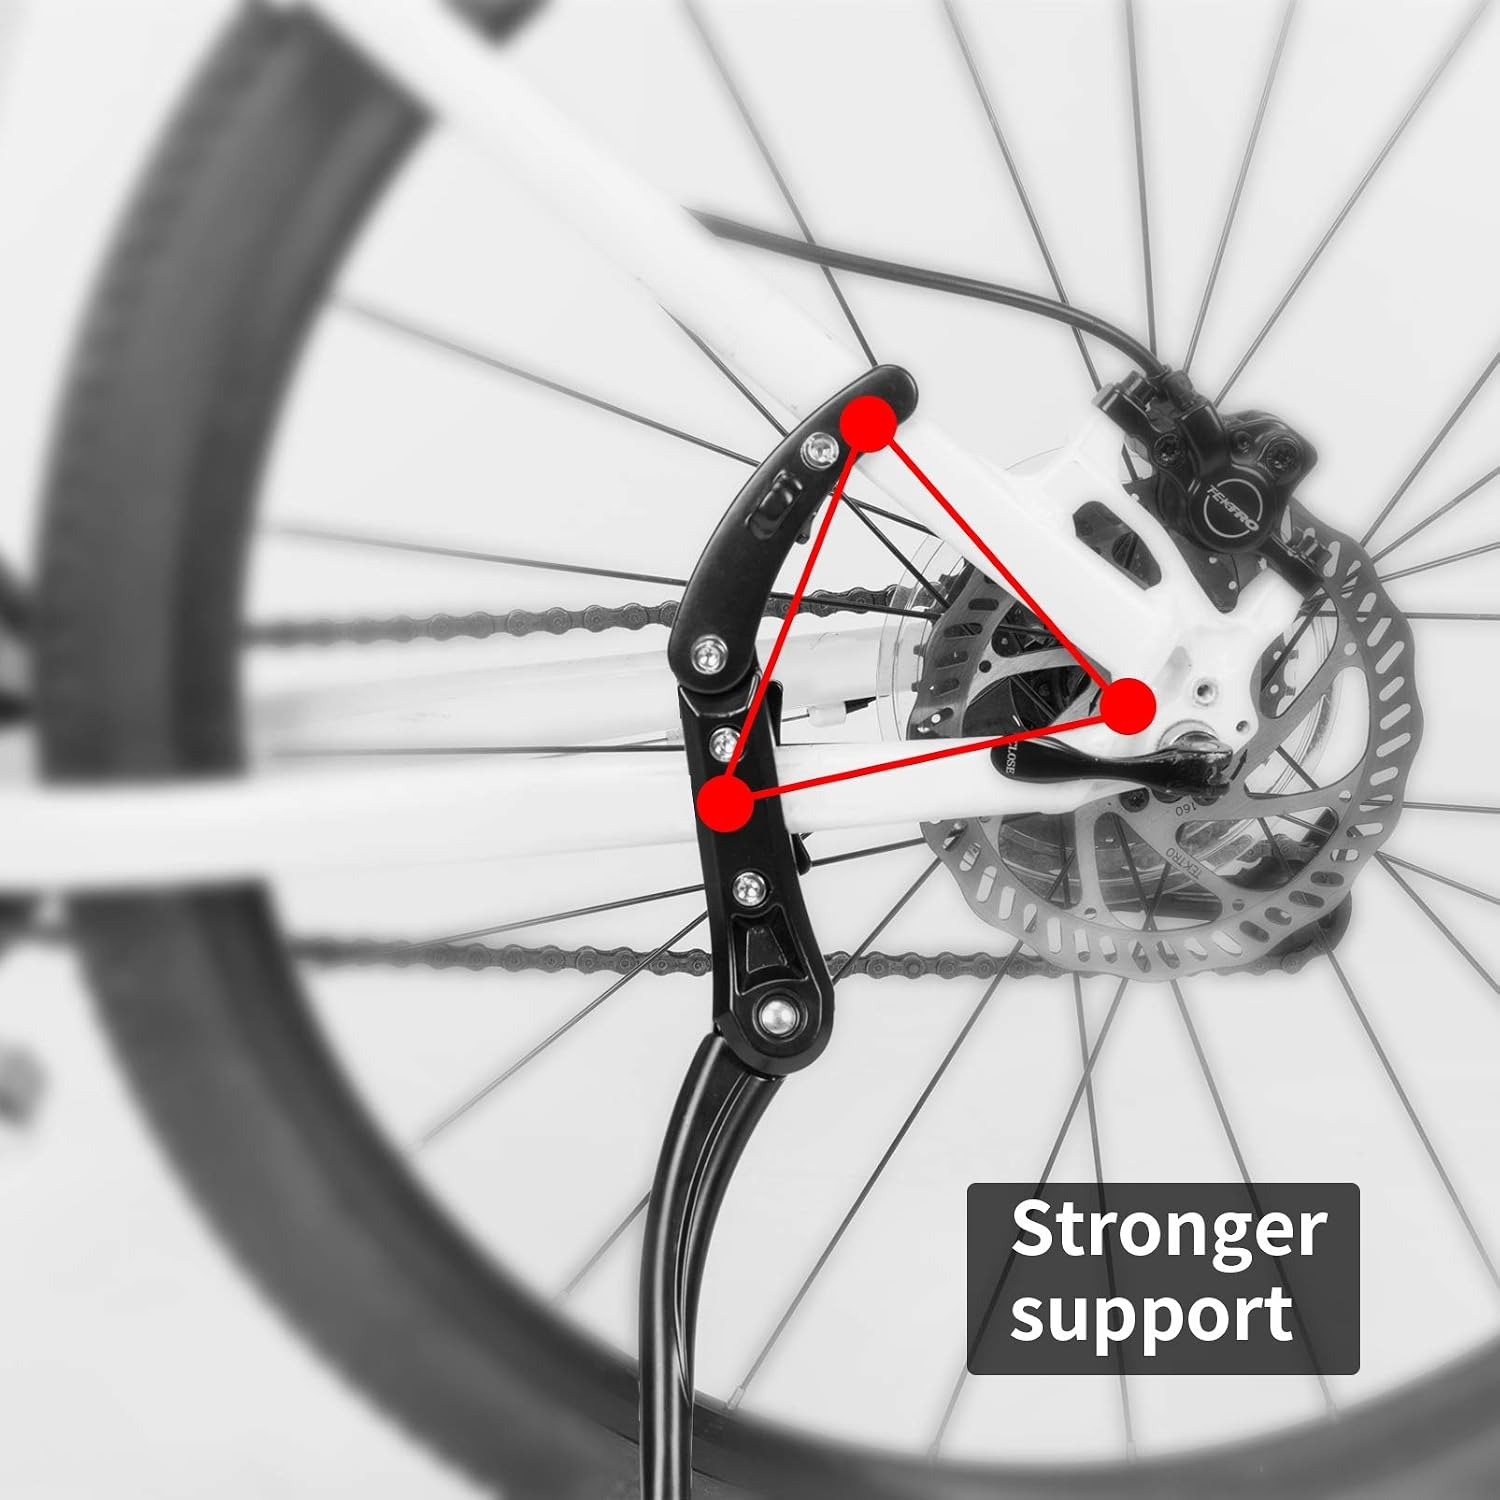
Two features matter most in daily use. The first is the push-button height adjustment, which lets you slide the leg longer or shorter without tools. The second is the U-bolt mounting, which clamps around a frame tube and tightens with a single wrench. Between them, you get a stand that fits a range of bikes and can be fine-tuned after fitting rather than being locked into one length.
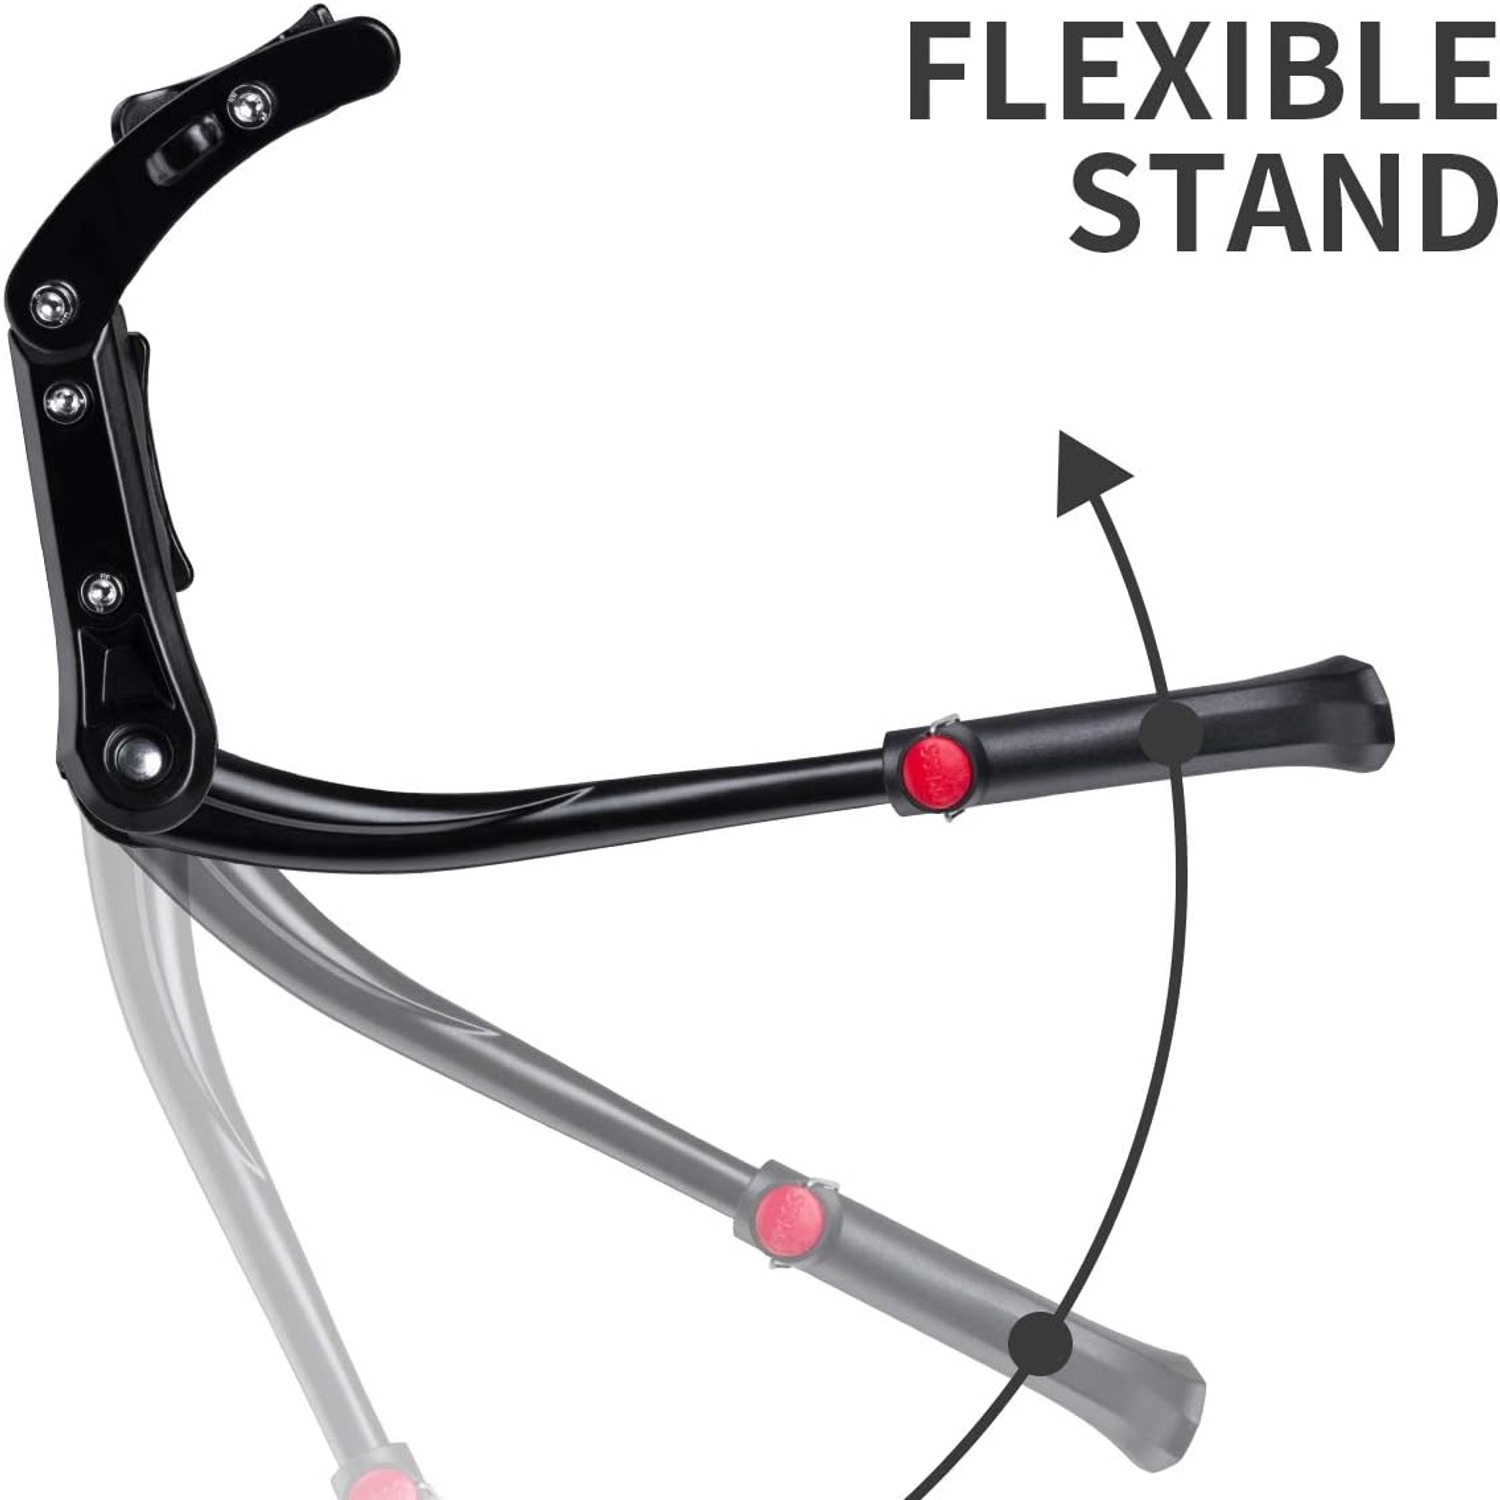
It is listed as not foldable, which simply means the leg is one piece that swings rather than a telescoping unit that collapses into itself. Fewer joints usually means fewer things to loosen up over time.
How a side stand holds a bike up
A parked bike is a tripod. Two wheels touch the ground, the kickstand leg makes the third point, and the bike leans into that leg. Everything depends on the angle of the lean.
If the leg is too long, the bike stands nearly vertical. It looks tidy, but the centre of gravity sits almost over the contact points, so a gust of wind or a knock from a passing trolley sends it over. If the leg is too short, the bike leans hard and the stand takes more load than it should. Somewhere in between is a lean that is positive enough to be stable but not so steep that the bike feels like it is falling.
This is exactly why adjustable length matters. Wheel size, frame geometry and tyre width all change the distance from the mounting point to the ground. A fixed-length stand is a lottery. An adjustable one lets you find the sweet spot in under a minute, and press the button again later if you change tyres or move it to another bike.
Who it suits
Commuters get the most out of a stand like this. If you stop at a cafe, a post box, a school gate or a corner shop on every ride, having the bike stand itself up saves real hassle. The same goes for anyone who works on their own bike at home. Being able to park the bike upright while you pump a tyre or adjust a saddle beats balancing it against the garage door.
Mountain bikers are split. Some riders will not put anything extra on a trail bike, and that is fair. Others use the same bike for trails on the weekend and for the shops during the week, and for them a mountain bike kickstand is well worth 351 g. The U-bolt mounting suits the chunkier tubing found on many mountain frames.
Hybrid and town bikes are the natural home for this kind of stand. Load capacity of 25 kg and a light aluminium body make it a sensible match for a bike that carries a basket, a rack or a child seat mount.
There are riders who should think twice. Carbon frames do not generally like clamped hardware, so check with your frame maker first. Very slim or heavily shaped tubing can make a solid clamp hard to achieve. And if your bike already has a dedicated kickstand plate between the chainstays, a plate-mounted stand will usually sit cleaner than a clamped one.
Fitting it without drama
Start with a clean frame. Wipe the area where the clamp will sit so no grit gets trapped underneath. Loosen the U-bolt nuts, position the stand on the frame, and only snug things up once you are happy with where it sits.
Before you tighten fully, rotate the cranks through a full turn with the stand both up and down. The leg should never touch the crank arm, the pedal or the chain. On some frames you will need to shift the clamp a centimetre one way or the other to get clearance. If you run a rear rack, check the leg swings past the struts too.
Then set the height. Press the red button, slide the leg, release. Stand back and look at the bike. A lean of roughly ten to fifteen degrees off vertical usually feels right. Give the saddle a gentle push and see whether the bike settles back onto the stand or starts to go over. Adjust until it settles.
Finally, tighten the nuts properly. The test is simple. Grab the stand and try to twist it around the tube. It should not move. Do not keep going past that point, because over-tightening risks crushing thin tubing and does nothing useful.
Ride for a day, then check the bolts again. New installations almost always need one small nip-up after the first few rides as everything beds in.
Parking well
Even the best bike kickstand cannot defeat physics. A few habits make a big difference.
On a slope, park so the stand is on the downhill side. The bike leans into the hill rather than away from it. On soft ground, look for a firm patch, or place a flat stone under the foot. Grass in summer is fine, grass after rain is not. If you are carrying shopping in a pannier, load the side the stand is on rather than the opposite side, so the weight pushes the bike into the leg rather than away from it.
And turn the handlebars slightly towards the stand side when you park. It shifts the front wheel's contact point and widens the effective base. Small trick, genuinely useful.
Keeping it in good shape
There is not much to maintain. Mud and grit are the main enemies, because they work into the pivot and make the leg stiff. Rinse or wipe the stand after wet rides and dry it off. Once every month or two, put a drop of light oil on the pivot and work the leg up and down a few times.
Check the mounting bolts regularly, especially if you ride rough surfaces. Vibration loosens things slowly, and a loose clamp will rotate on the frame and scuff the paint. Avoid blasting the pivot with a pressure washer, which pushes water and grit into exactly the place you want to keep clean.
If you ever want to change tyre size or swap wheels, remember you can reset the height with the button. You do not need to loosen the clamp to do it.
The short version
If your bike has nowhere to stand, you spend the whole ride looking for walls. The push-button leg lets you set the right lean for your frame and wheels, which is the single thing that determines whether a parked bike stays up or falls over.
It suits commuters, town bikes, hybrids and dual-purpose mountain bikes. It is less suitable for carbon frames or very unusual tubing. Fit it carefully, check the crank clearance, retighten after the first ride, and keep the pivot clean. Do that and it will quietly do its job for years without you thinking about it again.